
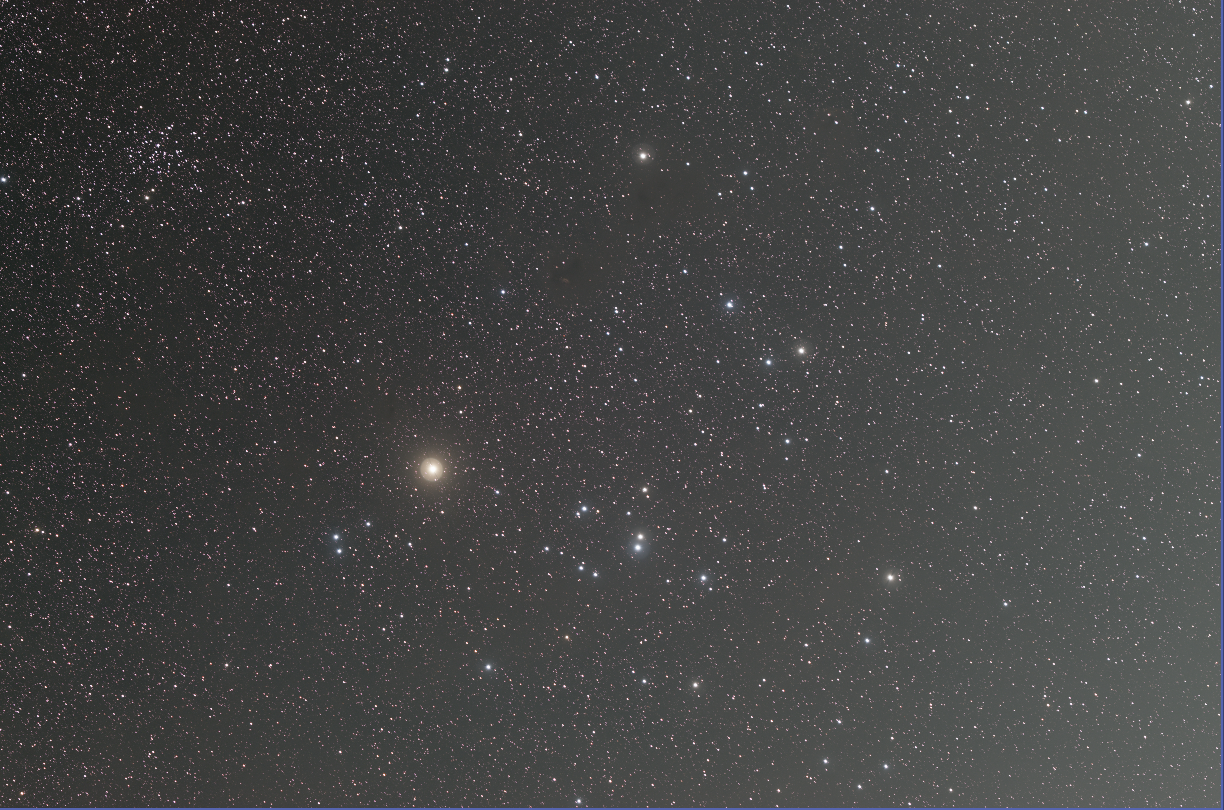
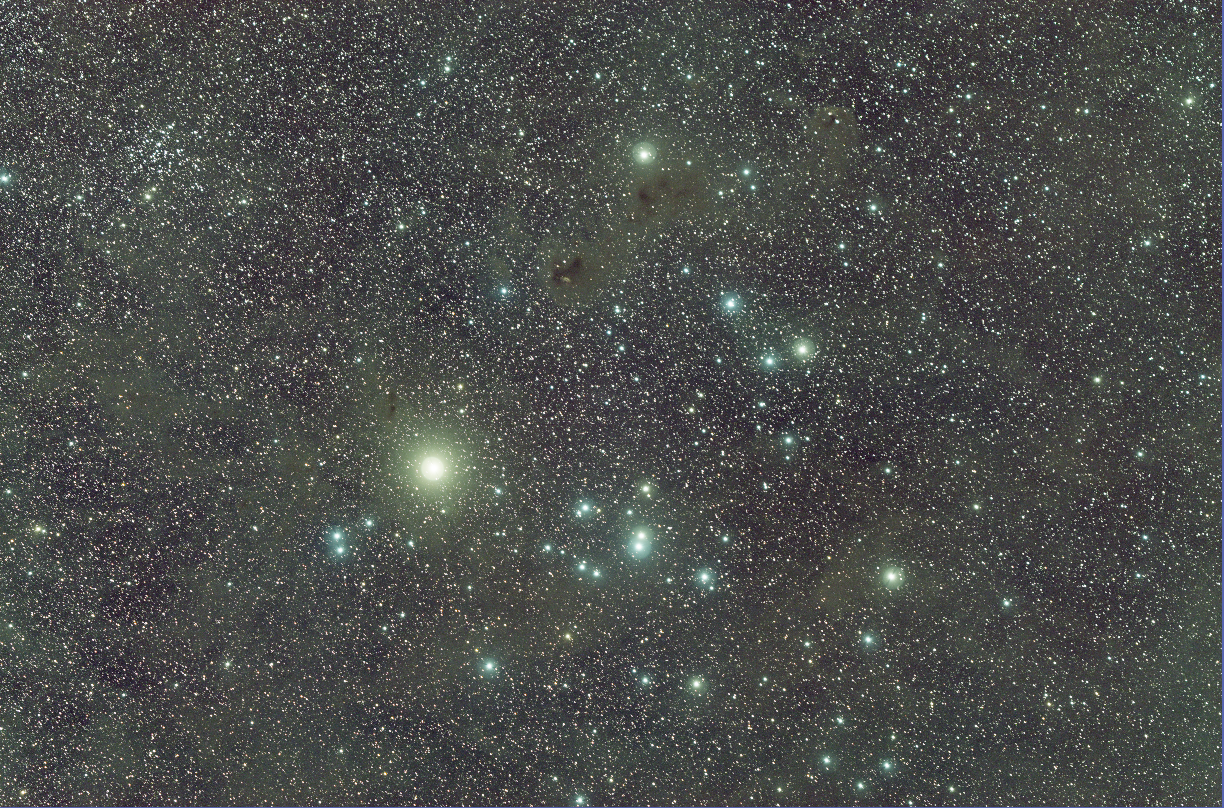
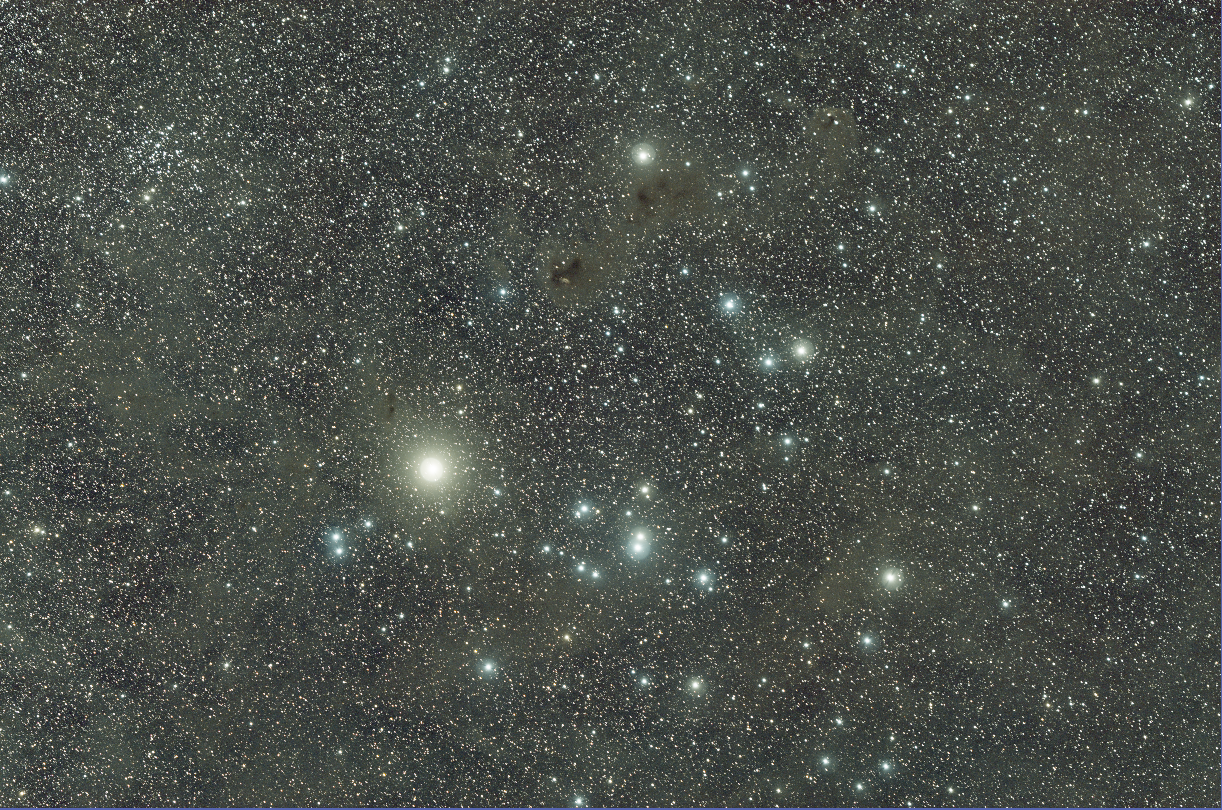
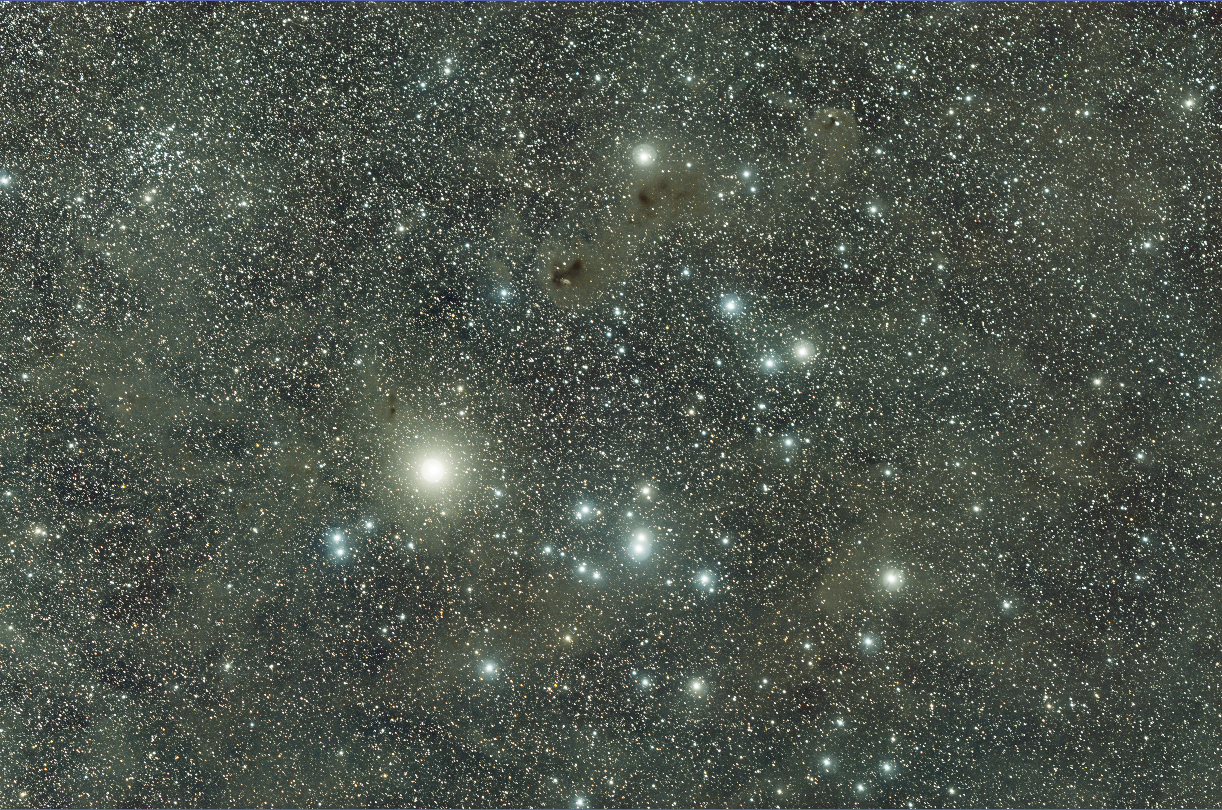
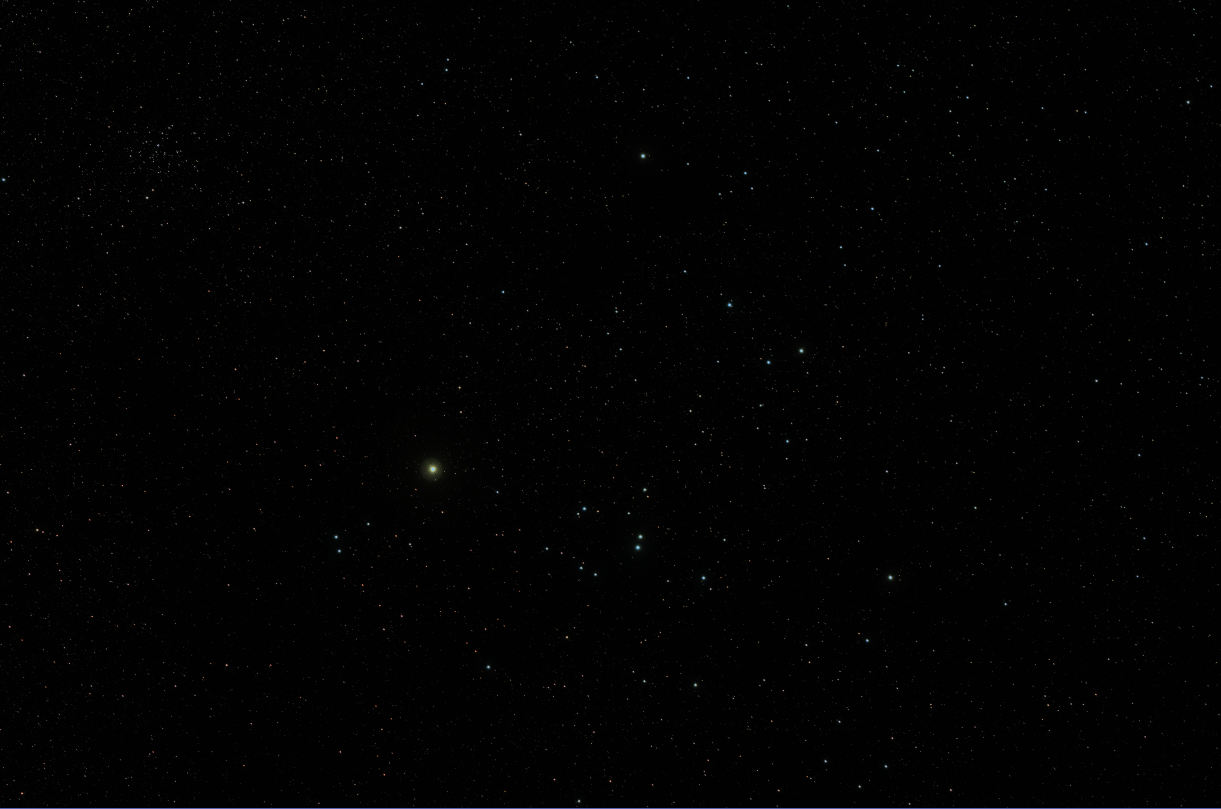
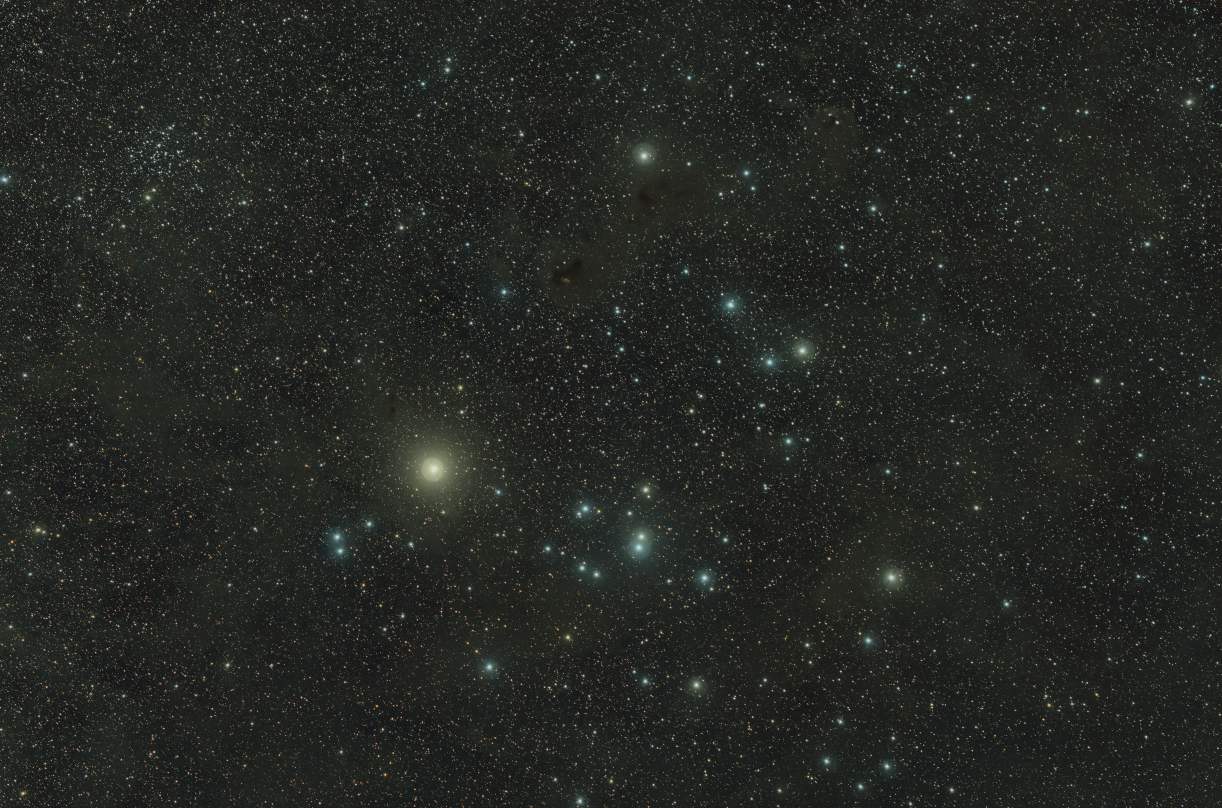
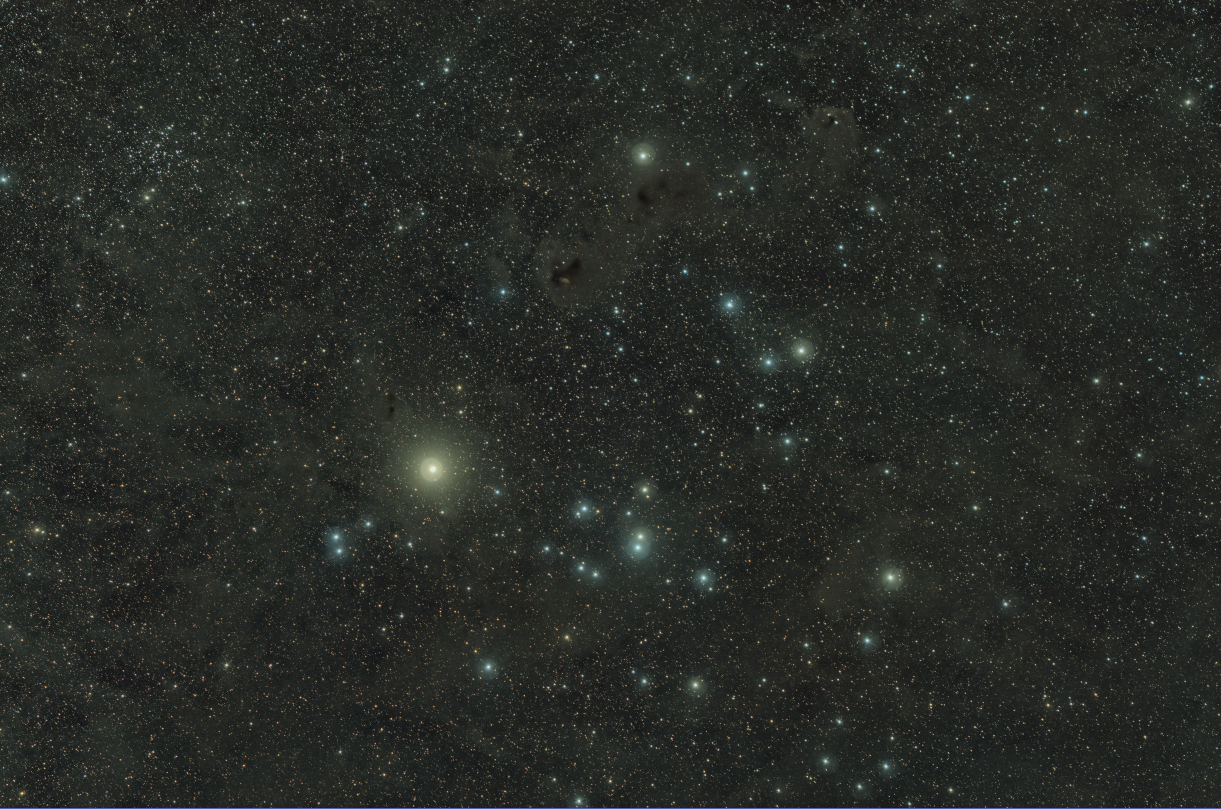
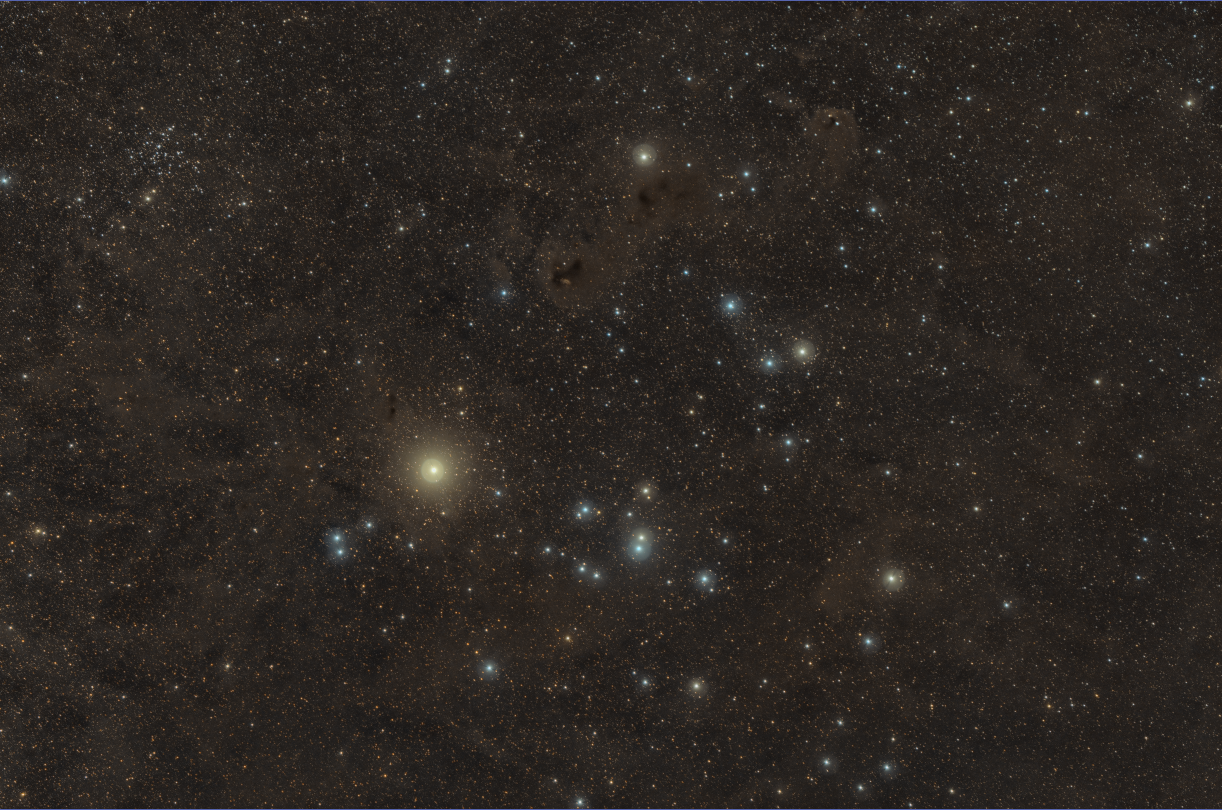
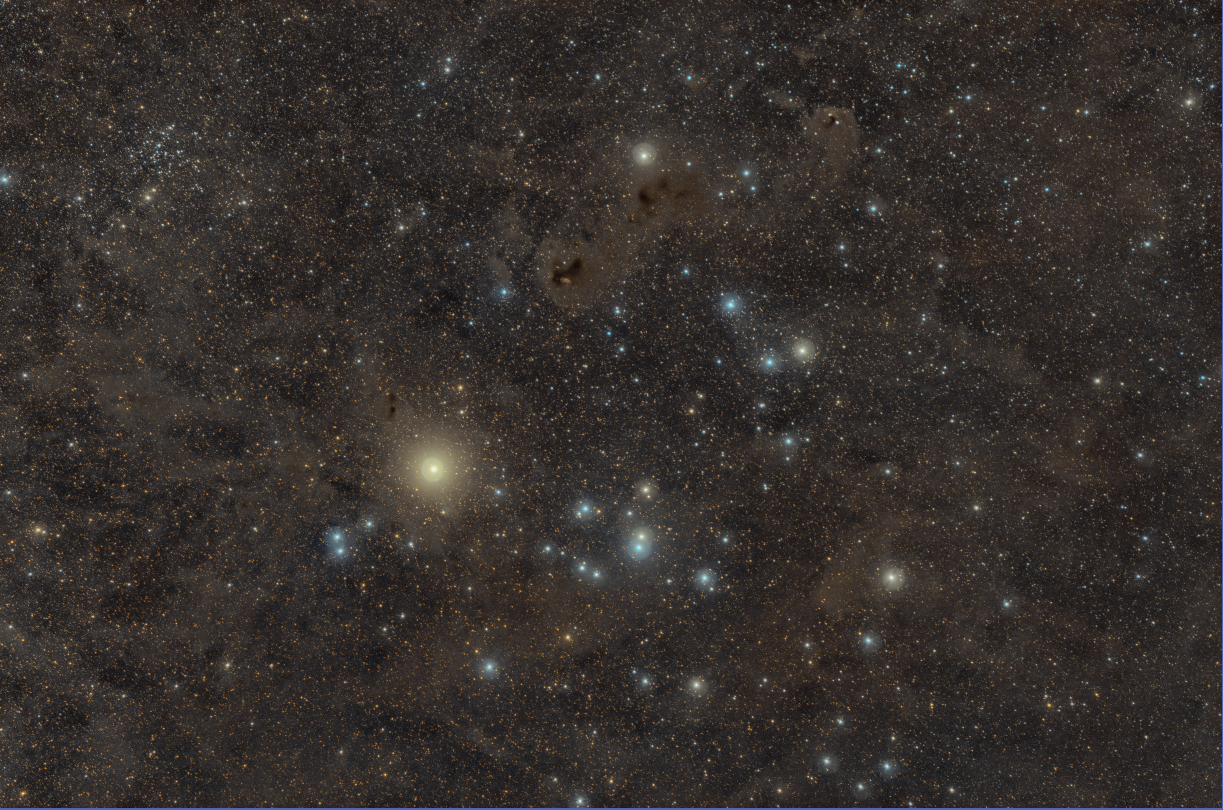
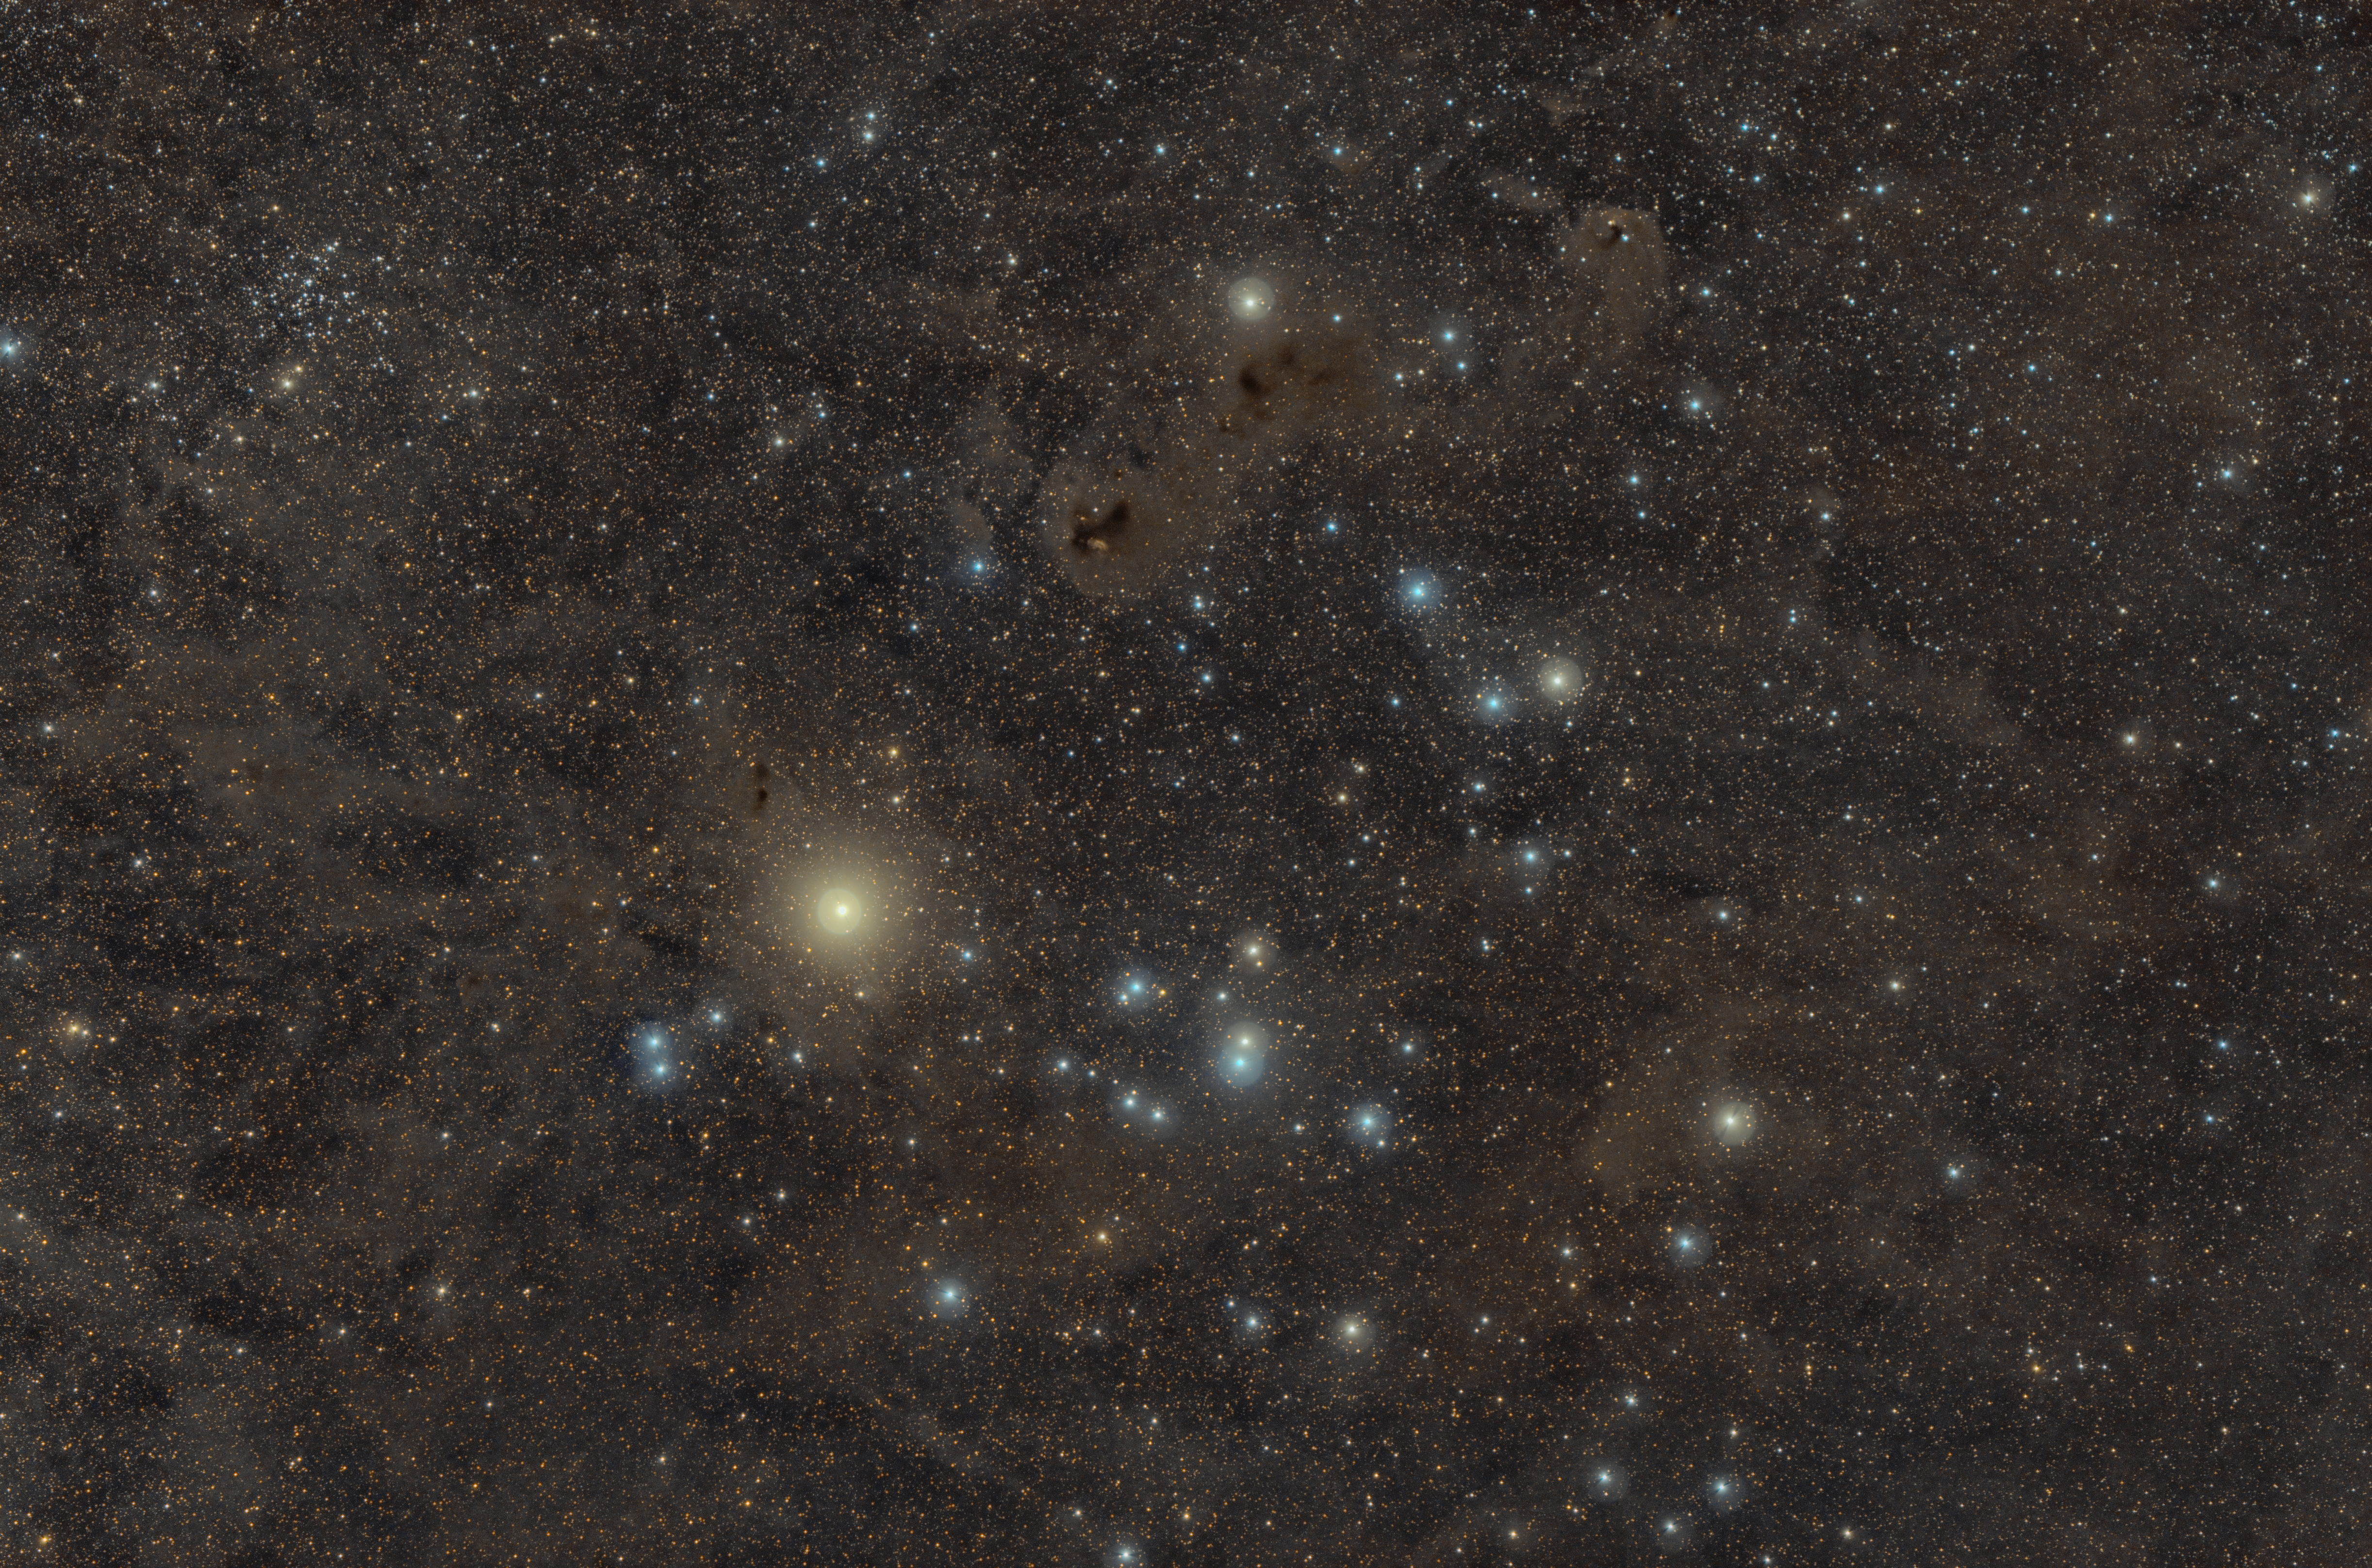
The Hyades Star Cluster has never really fascinated me much until I got into the hobby of deep sky imaging. As a bright set of stars in the night sky it’s commonly known as The Bull from ancient mythology. I didn’t know just how much star forming activity was going on in this region of space until my attention was directed to the Large Dark Molecular complex in taurus, and even then I hadn’t a clue how far it extended across the sky. This picture depicts some of the further reaching arms of that dark series of nebula. Inside it most prominently is Aldebaran, the bright yellow star. To the upper left is NGC1647 a far younger open cluster. On the upper edge in the middle is Hind’s Variable Nebula(NGC1555) and Struve’s Lost Nebula (NGC1554.) Probably my most favorite region of this image is the Sh2-239 reflection nebula sitting in extremely dense molecular cloud LDN1551.
* 
Follow Me on Instagram | Astrobin
Equipment:
Celestron CGEM Mount
Self tuned / hacks to get guiding stable include:
Intentional offset polar alignment so dec always pulses in one direction
Balance “west” heavy (rather than the recommended east) so that the ota “falls” onto the gear teeth rather than get “lifted”
Factor Reset hand-controller daily (to prevent cgem from being possessed and forgetting where the meridian is on subsequent night)
Dither in RA only
Rokinon 135mm f2 at f2
asi071mc PRO at -15 C
Astronomiks L3 UV/IR filter
Widefield Rig + AF3 by Deep Sky Dad
Acquisition:
- 136x120s at unity gain (4 hours) taken on 2020-02-14 and 2020-02-21
Session sequenced using Nighttime Imaging in Astronomy: N.I.N.A
All pre-processing and post-processing was done in PixInsight and final touches added with Affinity photo. Full details below.
The resulting image is a combination of the following steps:
Inspected all subs for bad images with Blink, discarding subs containing clouds
Calibrated all subs with a master flat and master dark
Used subframe selector to weight all images based on the following weighting
1 |
|
Selected the best sub from subframe and blink to use as a reference frame for aligning and integration
Cropped the stacking edges of the integrated image
Dynamic Background Extraction
Background Neutralization using 5 small preview windows aggregated as a background reference
Color Calibration |> Solved |> Photometric Color Calibration
RGBWorking Space to 1,1,1
Noise Reduction was done using TGV Denoise with a low contrast mask and an autostretched local support and MMT with a very protective luminance mask
Stretched using Arcsinh Stretch followed by Masked Stretch
Luminance Processing
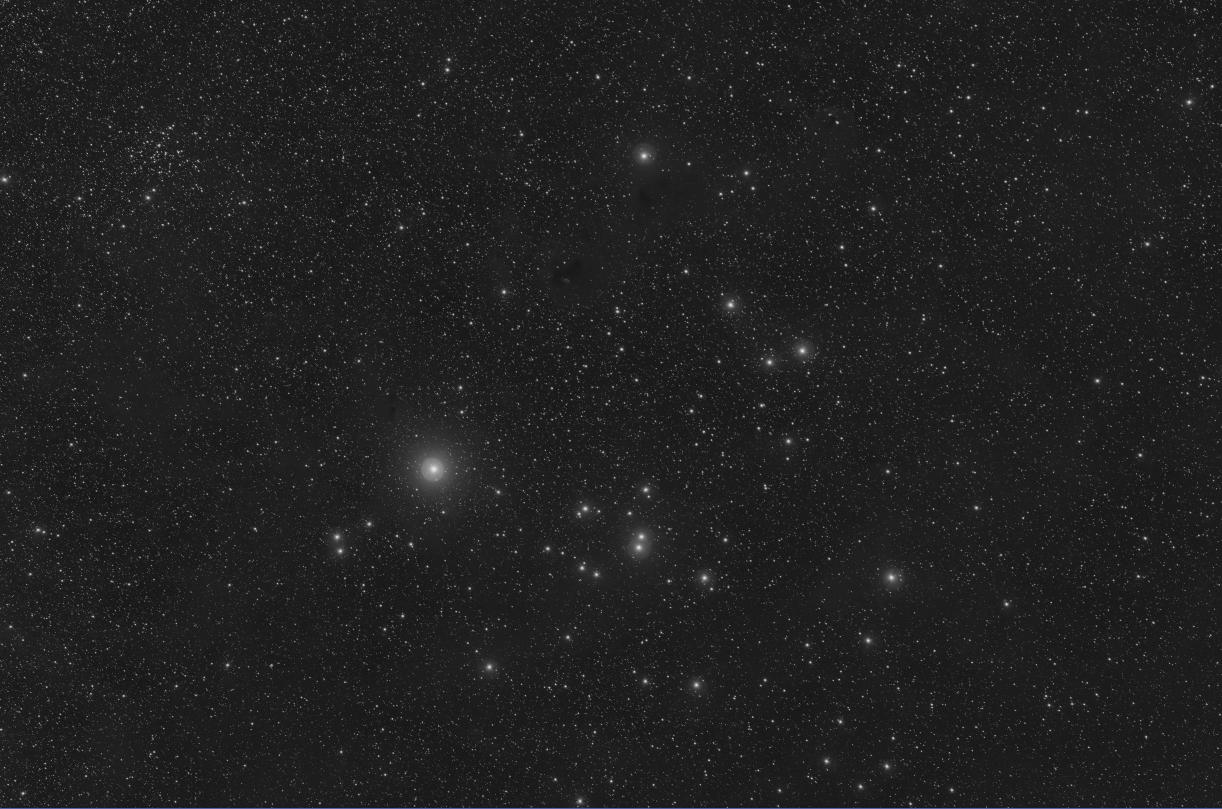
A synthetic luminance was extracted prior to the stetching of the RGB data for separating luminance processing
LStretched using Masked Stretch and Histogram Transformation
Created a
Starlessversion of the luminance using starnet++ and a StarsOnly image by subtracting the starless from the luminanceStarless-LPerformed two rounds of Local Histogram Equalization on the starless image
Kernel Radius 128 | Contrast 4 | Amount 0.100 | 8-bit | Circular
Kernel Radius 256 | Contrast 8 | Amount 0.030 | 8-bit | Circular
Performed large scale sharpening and noise reduction with Multiscale Linear Transformation 6 levels
Recombined the enhanced Starless with the Stars only image with Pixel Math
Starless+StarsOnly
Bringing the Enhanced Details back into the Color Data and Final Steps
Used ChannelCombination in CIE L*A*B mode to apply Luminance to Color
Stars in this image were reduced by using two rounds of morphological selection with a luminance based contours mask created with the following steps:
Extract a new luminance from the color image
Apply the following pixel math expression to a new extracted luminance to create a contours version using the
StarsOnlyimage created earlier:StarsOnly/$T-$T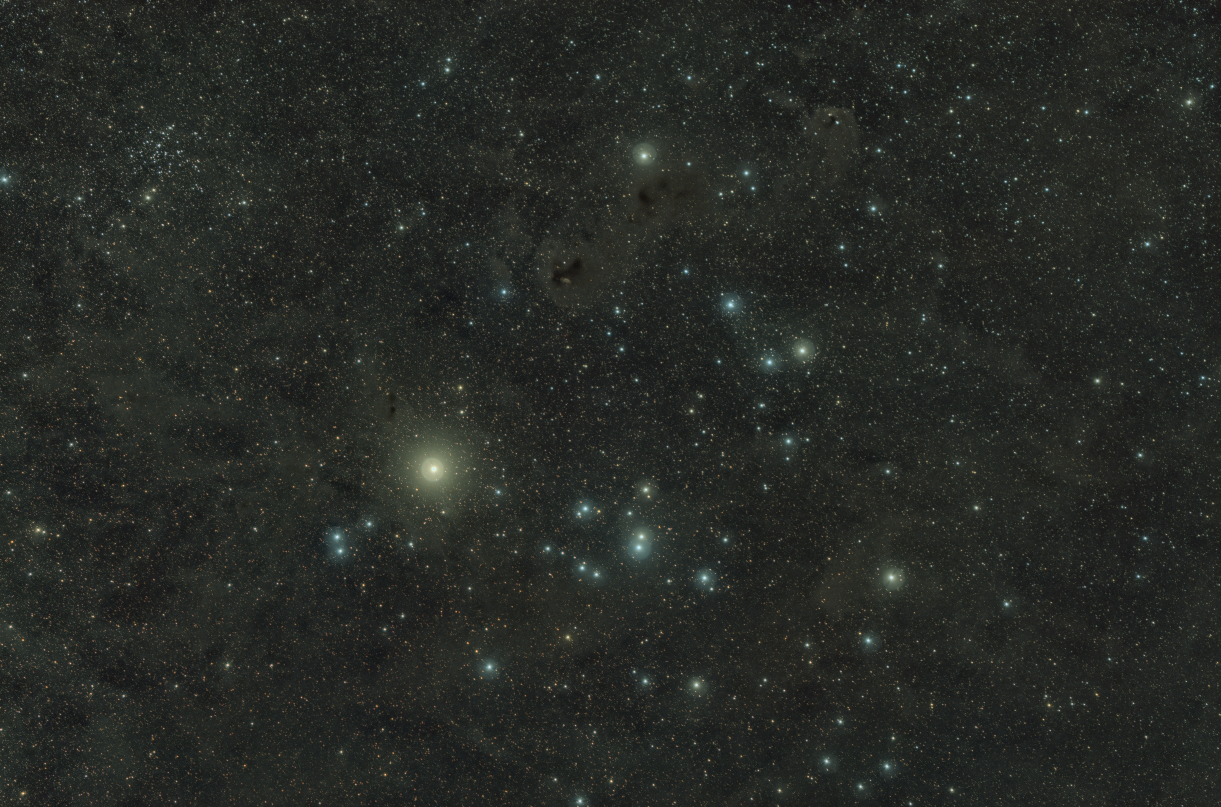
Curves transformation was used to increase contrast and saturation with a luminance mask and shift the tones towards the golden brown color
Over saturated stars were magenta and were fixed by inverting and applying SCNR green before re-inverting
Final round of curves to balance the blues
An ICC Profile was applied to enable Black Point Compensation
Constructive criticism is welcome. Let me know what you think! How can I improve?